
App Store Submission Checklist: How to Prepare Your iOS App for Review
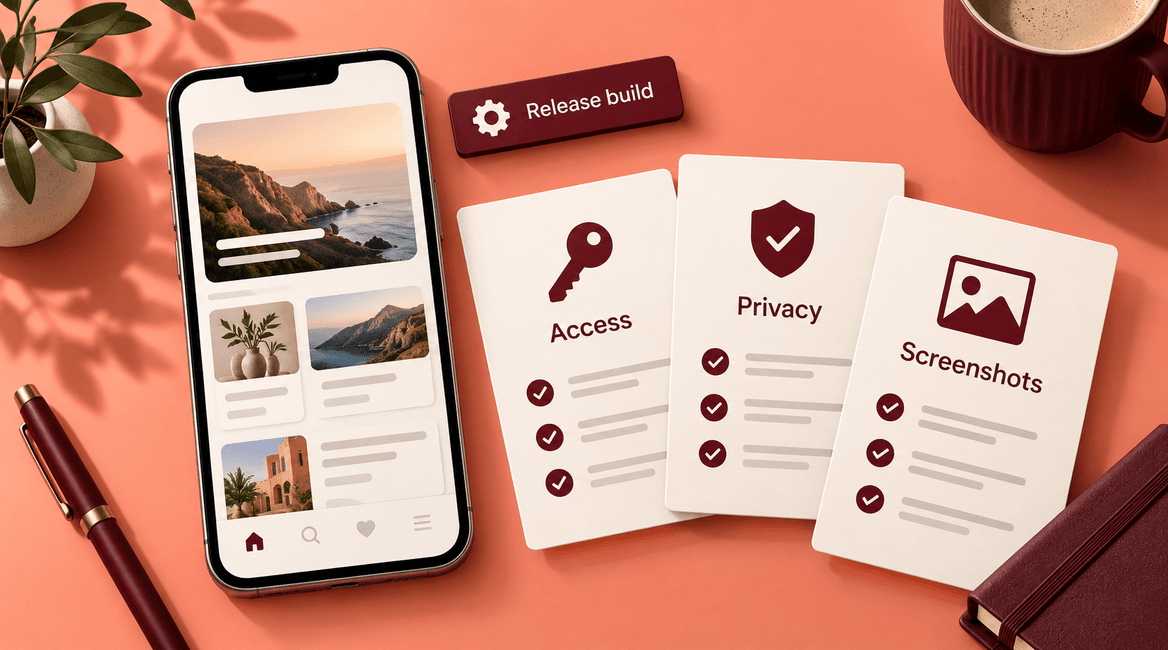
An App Store submission is a package: the app build, its store information, the services behind it, and the access a reviewer needs to understand the product. A working demo on a developer's phone does not mean that package is ready.
This checklist helps a founder, product manager, or development team prepare an iOS app for review. It focuses on concrete checks and ownership rather than promising approval or a fixed review timeline.
Apple updates its requirements, and some rules depend on the product, storefront, or distribution arrangement. Use this guide as a preparation workflow, then verify the current official requirements for your app before submitting.
Prepare the review as if the reviewer has never spoken to your team and cannot ask the developer sitting beside you.

Prepare the release package before opening the submission form
1. Assign ownership and identify the exact build
Name the person responsible for the developer account, build upload, store metadata, privacy answers, reviewer correspondence, and release decision. These can be different people, but each task needs an owner. Confirm that the business controls the relevant accounts and that access is granted through appropriate roles.
Record the version and build number selected for submission. Keep a release checklist tied to that build, rather than a generic statement that “QA passed.” If the code changes after testing, identify which checks need to be repeated. This prevents a last-minute fix from bypassing the release process.
Confirm that signing, capabilities, production configuration, and required account agreements are ready. Do not wait until launch day to discover that only an unavailable contractor can upload or release the app.
2. Test the customer journey on a release candidate
Start from a clean installation on supported physical devices. Create or access an account, complete the main task, sign out, and return. Test failure states such as denied permissions, a slow network, an expired session, and empty account data.
Apple identifies incomplete apps, broken links, and inaccessible functionality as common review problems in its App Review preparation guidance. Treat those checks as part of product readiness, not a cosmetic cleanup at the end.
Use TestFlight for beta distribution and feedback where appropriate. Give testers realistic tasks and collect the build number, device, steps, and expected result with each report. A tester saying “looks good” is less useful than evidence that the main workflow and recovery paths worked.
3. Make the backend ready for review
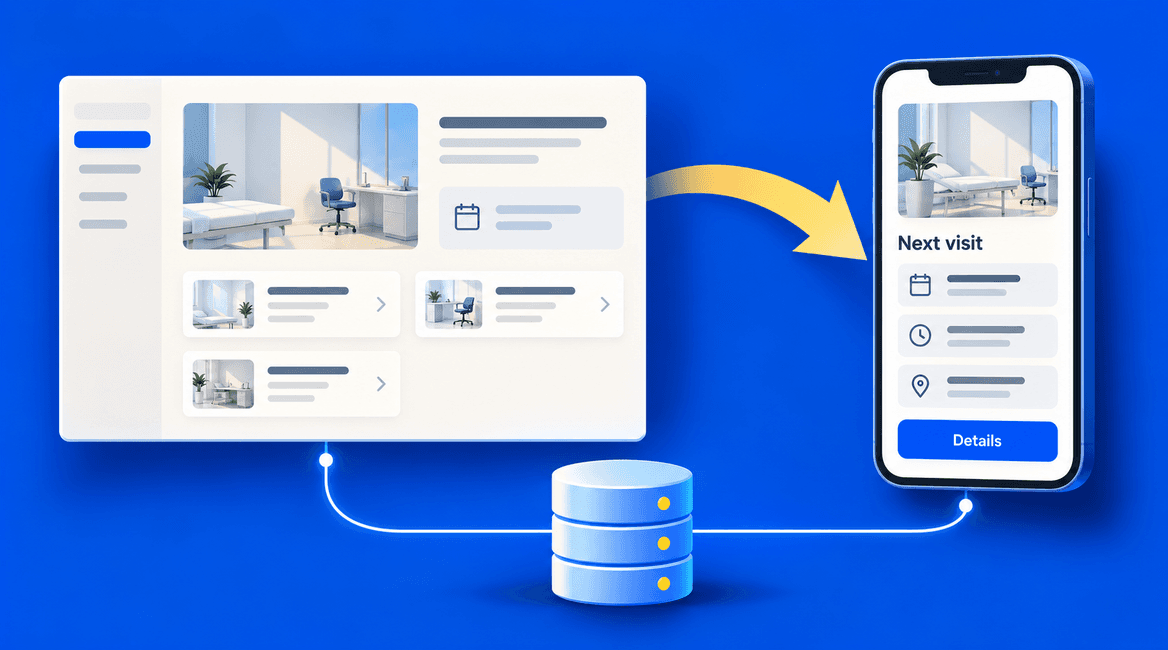
Confirm that the submitted build points to the intended services and that those services remain available during review. Check API credentials, certificates, file storage, email links, and any third-party connection used by the core workflow.
Use an isolated review account with realistic sample data. For a scheduling app, that might include a future appointment and a rescheduling path that does not affect a real customer. Avoid relying on an employee's personal account or data that may disappear halfway through review.
Run a complete rehearsal from outside the development environment. A feature working on office Wi-Fi may still fail because of an allowlist, geographic restriction, expired test configuration, or an assumption about a locally running service.
4. Write reviewer instructions that work without assistance
Provide the necessary access details in the designated review fields and explain any setup or unusual workflow. Include short navigation steps to features that are difficult to discover. If a feature needs hardware or a specific condition, document the supported way to evaluate it and supply appropriate supporting material.
Test those instructions with someone who did not build the app. They should be able to follow them without a private chat, an expiring personal verification code, or knowledge of internal terminology. Do not weaken normal customer security; provide a properly scoped review path.
Keep a contact available to answer review questions. A clear explanation of where a feature lives is more useful than a long marketing description of what the app will eventually become.
Make the store listing match the product
5. Prepare screenshots and accurate descriptions
Capture the submitted experience using appropriate sample data. Show the main customer tasks in a sensible order. Avoid screenshots of features that are disabled, unfinished, or available only in a different product version.
Check text at the actual display size, including localization. Keep personal customer information out of screenshots. Make subscription or account requirements understandable in the listing instead of allowing a screenshot to imply that every feature is available immediately.
Review the title, description, support destination, privacy-policy link, age-rating answers, and any required declarations together. A working link should lead to the intended information, not a placeholder homepage. Assign someone to keep these details current after launch.
6. Inventory data collection before answering privacy questions
List the data the app and its integrated services collect, why it is collected, whether it is linked to a person, and who receives it. Include analytics, crash reporting, advertising, authentication, and support SDKs rather than reviewing only your own application code.
Apple's App Privacy Details guidance makes developers responsible for accurate disclosures, including relevant third-party practices. Confirm that the policy, store answers, and actual configuration agree. Review applicable privacy-manifest and SDK requirements as part of the build audit.
Use the inventory to ask concrete questions: does this analytics event include an email address, does this crash report contain user-entered text, and is this permission necessary for the feature? Remove unnecessary collection rather than describing a data flow nobody intended to create.
7. Test account deletion and permission refusal
If the app supports account creation, check Apple's account-deletion requirements and implement the applicable in-app initiation flow. Account deletion is different from signing out or temporarily disabling access. Explain any permitted retention and what happens next.
Rehearse the whole process with a test account: confirmation, authentication when appropriate, completion state, and subsequent sign-in behavior. Check how deletion interacts with subscriptions and explain the relevant management steps without implying that every account action automatically cancels billing.
For camera, location, photos, and notifications, test both approval and refusal. The app should explain unavailable functionality and remain usable wherever the permission is not essential. A permission description should match the feature requesting it.
Review monetization and special features early
8. Classify what the customer is buying
Write down whether each purchase concerns digital functionality, a subscription, physical goods, or services, and which storefronts are involved. Apple's payment and login guidelines contain category-specific rules and exceptions. Verify the applicable path instead of copying a web checkout or assuming one rule covers every region.
Test purchase cancellation, interrupted transactions, restoration or entitlement recovery where applicable, and a customer returning on another device. Confirm the backend recognizes the correct entitlement without relying only on a success screen on the phone.
If the app uses third-party login, user-generated content, sensitive information, or regulated functionality, review the relevant requirements before submission. These are product-design decisions that can be expensive to discover after the interface is finished.
9. Review the app as a new customer
Ask someone outside the implementation team to describe what the app does after using it for a few minutes. Can they find the core action, understand loading and error states, and reach support? Can they read the interface with larger text and navigate with assistive technology?
For an app adapted from a website, verify the mobile value and behavior rather than assuming an installed container is enough. Our website-to-app guide explains how to plan that experience.
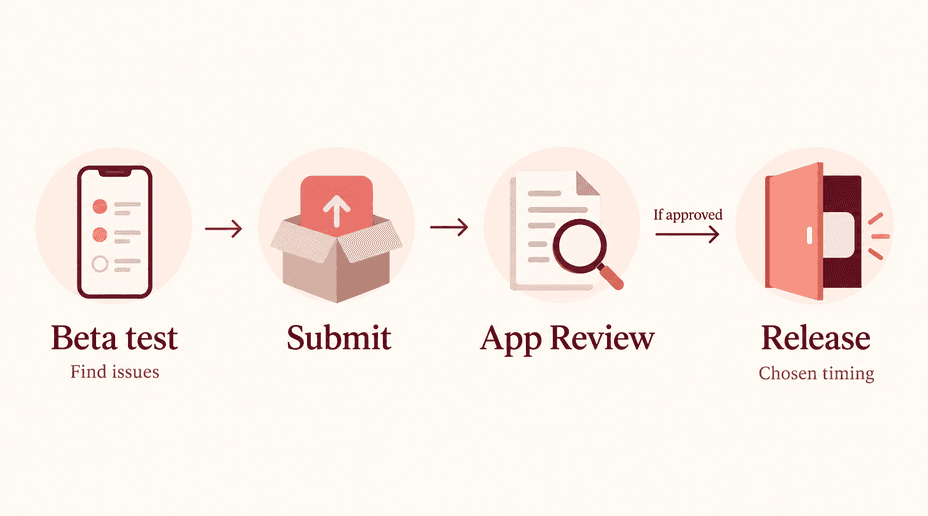
Before you launch: a practical checklist
- The selected version and build match the release candidate that was tested.
- Core journeys pass on supported devices, including denied permissions and network failures.
- Production services and review sample data remain available throughout review.
- Reviewer access and instructions have been tested by someone outside the development team.
- Screenshots, descriptions, support links, and declarations match the submitted product.
- Privacy answers include integrated SDKs and agree with actual data handling.
- Account deletion, purchase recovery, and subscription behavior are verified where applicable.
- The team has checked current requirements for payments, login, and any special features.
- A named person monitors review messages and owns the eventual release decision.
Submit deliberately and keep the evidence
Apple's submission overview explains how app versions and related items enter review. Check the selected build and required items before completing the submission steps. Uploading a build alone is not the same as submitting it for review.
Keep a small release record with the tested build, reviewer instructions, known limitations, relevant configuration, and the person approving submission. This makes it easier to investigate a review question without reconstructing what changed from memory.
If review identifies a problem
Read the specific issue and reproduce it against the submitted build. Separate a missing explanation from an actual implementation defect. Reply with clear steps and relevant evidence, or fix the defect and re-test the affected journey before submitting an updated build.
Avoid making broad unrelated changes while resolving one issue. They can introduce new problems and make it harder to demonstrate what was fixed. If you believe a decision is based on a misunderstanding, use the available review communication or appeal process with a concise explanation.
Plan a launch window that can accommodate review questions and corrections. A marketing date is not evidence that the app will be approved by then.
Prepare for the first production users
Approval and release are separate operational moments. Verify the chosen release setting, support coverage, monitoring, and backend capacity before making the app available. Check the live listing and perform a customer journey after release.
Monitor sign-in failures, crashes, purchase problems, and support reports. Have a plan to disable a malfunctioning server-backed feature where appropriate while preparing an app update. Do not assume you can instantly remove a faulty installed binary from every customer's device.
FAQs
Does passing TestFlight testing guarantee App Store approval?
No. Beta testing helps find problems, but the App Store submission has its own review. Treat tester feedback and release checks as preparation, not a guarantee.
How long should we allow for review?
Do not rely on a fixed duration. Leave room for questions, changes, and another review cycle, especially for a first release or a product with unusual requirements. Avoid committing a launch campaign to an assumed approval date.
Who should own the developer account?
The business should have durable control of its distribution account and grant appropriate access to its development team. Document ownership, recovery, and release responsibilities before launch.
Can a developer handle the entire submission?
A developer can manage much of the process, but the business still needs to confirm product claims, data practices, account ownership, and release timing. Work with DevConex to prepare a reviewable release package with clear responsibilities.